# Creating Your First Test Case
Once you have created your project, it is time to create your first test case and start testing. To create a test case, you need to open your project. This will land you on the Test Cases tab (located in the left sidebar)

# Creating Test Case
Once you are in the Test Cases tab,
- Click on the
 button in the left pane.
 - A window will pop up saying "Add New Test Case".
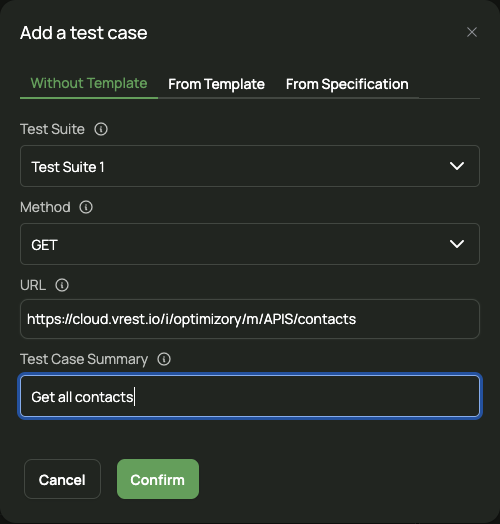
- Select the Test Suite
- Select your API's request Method.
- Enter your API URL in the Test Case URL field.
- Provide a summary describing your test case, in the Test Case Summary field.
- Click

Voila! You have created your test case.
To open this test case, click on the test case created from the list of test cases on the left pane. The test case will open on the right side of this pane.
Now, in the test case, you may add additional information like request body, headers, assertions, etc.
# Running Test Case
You have created your test case, now is the time to run and see the response. To run this single test case,
- After opening the test case, just click on
 on the top side of your opened test case.
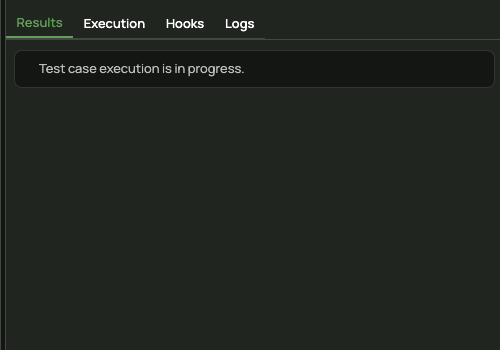
 - After the test case is finished running, you can see the results on the rightmost side of the application.
- Also, you can see an indicator on the test case (in the test cases list) showing if the test case is passed or failed.
